A wooden commercial installation has to do more than look attractive: it must carry the right load, fit the available space, survive handling, and remain serviceable. By the end, you will be able to match a creative concept with the right board, construction detail, brand treatment, and site plan.
Key takeaways
- Match reception desks to cable access and daily wear.
- Choose plywood, MDF, veneer, or solid wood for the actual use.
- Specify load limits, edge protection, fixings, and service access.
- Provide site measurements, photos, drawings, and access details for quotes.
Wooden Work Ideas Matched to Commercial Spaces
Match the installation to the job: reception desks need durability and cable access, retail counters need replaceable surfaces, exhibitions need flat-pack construction, and decorative walls need visual impact without unnecessary weight. These choices keep commercial interiors attractive and serviceable.
| Space | Suitable wooden installation | Key design decision |
|---|---|---|
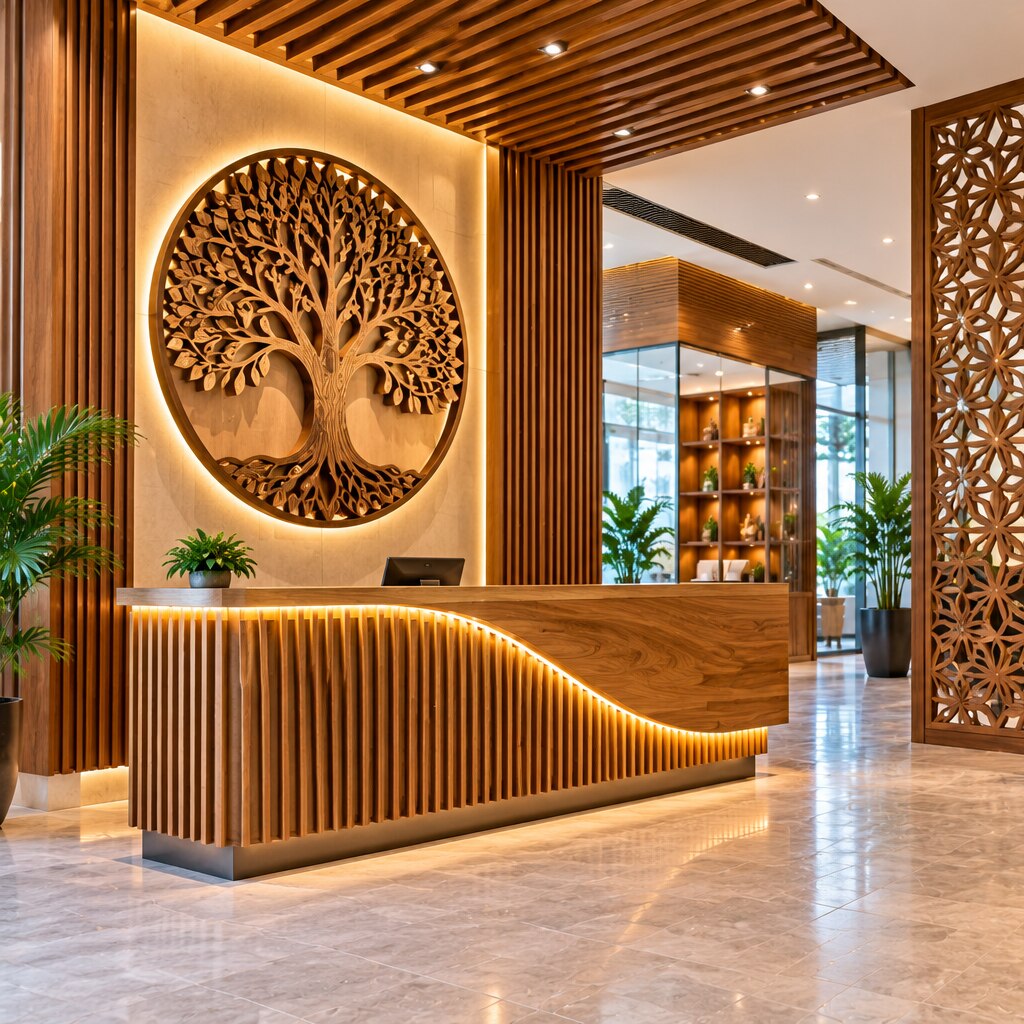
| Reception | Reception desks, slatted screens, logo backdrops | Provide a wipe-clean counter surface, concealed cable routes, and removable access panels. |
| Retail area | Retail counters, product stands, shelving, and kiosks | Protect high-contact edges and make shelves or graphic skins replaceable. |
| Exhibition | Knock-down display frames, plinths, menu boards, and branded installations | Use captive fasteners, sacrificial feet, and components that fit the transport case. |
| Decorative wall | Wall features and panels, timber battens, framed graphics, and illuminated lettering | Plan fixing points, panel movement, and access to lighting drivers before closing the wall. |
- Acclimatize woodwork to the service environment before final machining. Material for heated interiors often settles near 6–8% moisture content; installing it at a different moisture level can open joints or distort panels.
- Request low-emission board documentation for enclosed interiors. EPA TSCA Title VI limits are 0.05 ppm for hardwood plywood, 0.09 ppm for MDF, 0.11 ppm for thin MDF, and 0.09 ppm for particleboard.
- Keep LED drivers ventilated and replaceable. Test printed wood surfaces with a production proof and cross-hatch or tape-adhesion testing before approving the finish.
Choose the Material Before You Choose the Look
Start with the job’s stress, moisture and maintenance demands, not its colour. Treat plywood, MDF, HDF and blockboard construction materials as different tools; veneer and laminate-faced boards are surface systems, not substitutes for a structural core.
| Material | What it means | When it applies |
|---|---|---|
| Plywood | Cross-laminated veneers; strong, stable and suitable for screw fixing, but face quality varies | Shelves, counters, kiosks and freestanding displays |
| MDF | Smooth, uniform fibreboard that machines and paints cleanly; edges absorbent and screw holding is limited | CNC lettering, painted panels and decorative wall features |
| HDF | Denser, harder fibreboard than MDF; heavier and harder to cut | Thin routed panels, durable backing and high-wear decorative parts |
| Blockboard | Solid-wood strips between veneer faces; lighter than many solid panels and suited to long spans | Doors, tabletops and large cabinet components |
| Timber | Solid wood with visible grain; strong, but expands across the grain as humidity changes | Feature frames, trims and furniture where authenticity matters |
| Veneer | Thin real-wood layer bonded to a stable board | Premium reception fronts and branded wall cladding |
| Laminate-faced board | Factory-bonded decorative surface over MDF, particleboard or plywood | Retail counters and displays needing wipe-clean, consistent finishes |
| Reclaimed wood | Previously used timber with character, variation and hidden defects | Rustic feature walls and short-run decorative installations |
Acclimatise timber, veneer and plywood in the service environment before machining; a heated interior commonly settles near 6–8% moisture content. Leave movement paths in wide solid panels or joints can split and boards can buckle.
For enclosed interiors, request low-emission evidence: EPA TSCA Title VI limits include 0.05 ppm for hardwood plywood and 0.09 ppm for MDF. Reclaimed wood also needs checks for pests, contaminants and fasteners.
Construction Specifications for Safe, Durable Displays
Use 18 mm plywood or MDF for cabinet sides, shelves and partitions; 12–18 mm panels suit decorative cladding, while 25–30 mm construction is appropriate for counters and freestanding plinth tops. Increase thickness or add cleats, ribs or a concealed frame when spans, equipment or visitor contact increase.
Specify these construction details before fabrication:
- Ease exposed corners to a small radius or chamfer them; use solid-wood lipping, PVC edging or sealed MDF edge treatments where impacts and cleaning are expected.
- Choose joinery methods for the service life: dowels, biscuits, confirmat screws, threaded inserts and glued rebates outperform repeated screws driven into MDF edges.
- Seal MDF cut edges before painting. Use a compatible primer, then the specified polyurethane, lacquer, laminate or water-based coating; surface finishes must match cleaning chemicals, abrasion and gloss requirements.
- Provide floating panels, elongated screw holes or slip joints for solid timber, veneer and plywood. Moisture movement can split rigidly fixed wide panels or force them to buckle.
- State shelf load limits in kilograms, including merchandise and equipment, and check deflection across the actual span. Check the complete freestanding unit for racking, overturning and visitor contact with the real banner, shelves and ballast.
- Identify the required fire test classification for the complete assembly. Fire-retardant treatment does not make wood non-combustible or automatically provide a fire-resistance rating.
For enclosed interiors, request low-emission documentation; EPA TSCA Title VI limits include 0.09 ppm for MDF and 0.05 ppm for hardwood plywood. A “natural wood” claim proves nothing about traceability or performance.
Make Wood Carry the Brand Without Sacrificing Serviceability
Set dimensions by viewing distance, traffic flow, and reach height, not by decoration alone. A reception logo needs clear negative space; a retail plinth needs stable proportions and protected edges. Match grain direction across adjoining panels, then use stain or opaque colour to reinforce brand identity without hiding the wood character.
Specify the branded details as a coordinated system:
- Use cut lettering for dimensional logos, and leave enough contrast between the letters and the timber face.
- Add inlays in a controlled accent colour for arrows, icons, or repeated brand motifs.
- Use LED lighting and acrylic integration for halo-lit names, illuminated shelves, or translucent panels.
- Route channels behind removable covers so wiring stays hidden but remains reachable.
- Mount printed graphics on removable skins instead of gluing them permanently to the wood.
- Use powder-coated metal trims, brackets, or bases where corners take impact or need extra rigidity.
- Keep colour decisions tied to approved physical samples; screen colours and stained timber can vary under warm and cool light.
Treat every failure-prone part as replaceable. A knock-down frame, standard or captive fasteners, sacrificial feet, separate LED drivers, and removable acrylic panels reduce transport damage and shorten repairs. Test UV or latex printing on the complete sanded, sealed surface with cross-hatch or tape adhesion; resin, dust, wax, laminate, and clear coats can cause ink failure.
| Component | Serviceable choice | Failure caused by permanent construction |
|---|---|---|
| Graphics | Removable printed skin | Rebranding requires rebuilding the face |
| Lighting | Accessible driver and ventilated cavity | Heat damages wiring inside sealed timber |
| Structure | Knock-down frame and standard fasteners | Transport or repair damages the whole unit |
Prepare the Site Information Before Requesting a Fabrication Quote
A quote based only on wall dimensions can miss the installation route, fixing method, electrical work and maintenance space. Give the fabricator a measured site pack, not an approximate width and a photograph.
1. Record wall dimensions in millimetres at several points, plus skirting, columns, sockets, sprinklers, vents and uneven surfaces. Note the wall material and identify where anchors can safely be fixed.
2. Mark finished floor levels, thresholds and slopes. Record the ceiling height, beams, suspended ceilings and the clear height beneath them.
3. Measure door clearances with doors fully open, then document corridor widths, stair turns, lift dimensions, loading-bay restrictions and the route from unloading to the installation point. A panel that fits the room can still fail at the first turn.
4. Mark power points, circuit locations, switch positions and the nearest distribution board. For illuminated letters, counters or lightboxes, show cable routes, driver locations, ventilation openings and a removable access panel; sealing a driver inside timber creates a heat and replacement problem.
5. Photograph every elevation and provide a scaled plan with the proposed footprint, fixing zones and maintenance clearance. State whether the unit must be dismantled, moved, rebranded or repaired without closing the area.
6. Note air-conditioning, heating and humidity conditions. Acclimatize timber and panels to the service environment before final machining, or moisture movement can open joints and distort wide sections.
SHUBH AD'S Pvt Ltd can use this same measured information to coordinate wooden display dimensions with exhibition graphics, illuminated signage and replacement artwork instead of discovering conflicts during installation.
Frequently asked questions
Which wooden work suits different commercial spaces?
Use durable, cable-managed reception desks for offices, replaceable counter surfaces for retail, flat-pack displays for exhibitions, and lightweight decorative wall systems where visual impact matters most.
How do you choose the right wood material?
Choose plywood for strength and screw holding, MDF for smooth painted surfaces, veneer for a natural wood finish over a stable board, and solid wood for selected structural or tactile details.
What construction details make wooden displays safer and more durable?
Specify the display’s load, base stability, wall fixings, edge treatment, moisture exposure, cable routes, access panels, and replaceable components before fabrication.
What information is needed for a wooden fabrication quote?
Provide room dimensions, wall and floor conditions, intended use, material and finish preferences, drawings or reference images, delivery access, installation timing, power points, and service requirements.