A successful FRP installation starts with matching the object, scale, finish, support system, and location to the way people will see and use it. By the end, you will be able to choose suitable FRP concepts, compare construction formats, prepare a practical fabrication brief, and identify safety or weather risks before production.
Key takeaways
- Match the FRP feature to the visitor journey: attract, guide, engage, or reinforce.
- Specify UV-resistant resin, sealed edges, drainage, and anchoring for outdoor installations.
- Compare FRP panels, sculptures, skins, and banners by permanence, weight, and maintenance.
- Give fabricators dimensions, finish samples, access limits, fixing points, and installation conditions.
FRP Ideas That Give Each Commercial Space a Distinctive Feature
Choose the object according to the space’s visitor journey: attract people at the entrance, guide them inside, create a photo opportunity, or reinforce the brand at the point of purchase. These creative FRP work ideas suit both permanent interiors and temporary public installations.
| Application | Suitable FRP object | Distinctive feature |
|---|---|---|
| Shopfront | Oversized product, sculpted logo, mascot, or 3D signage body | Makes the frontage visible from a distance |
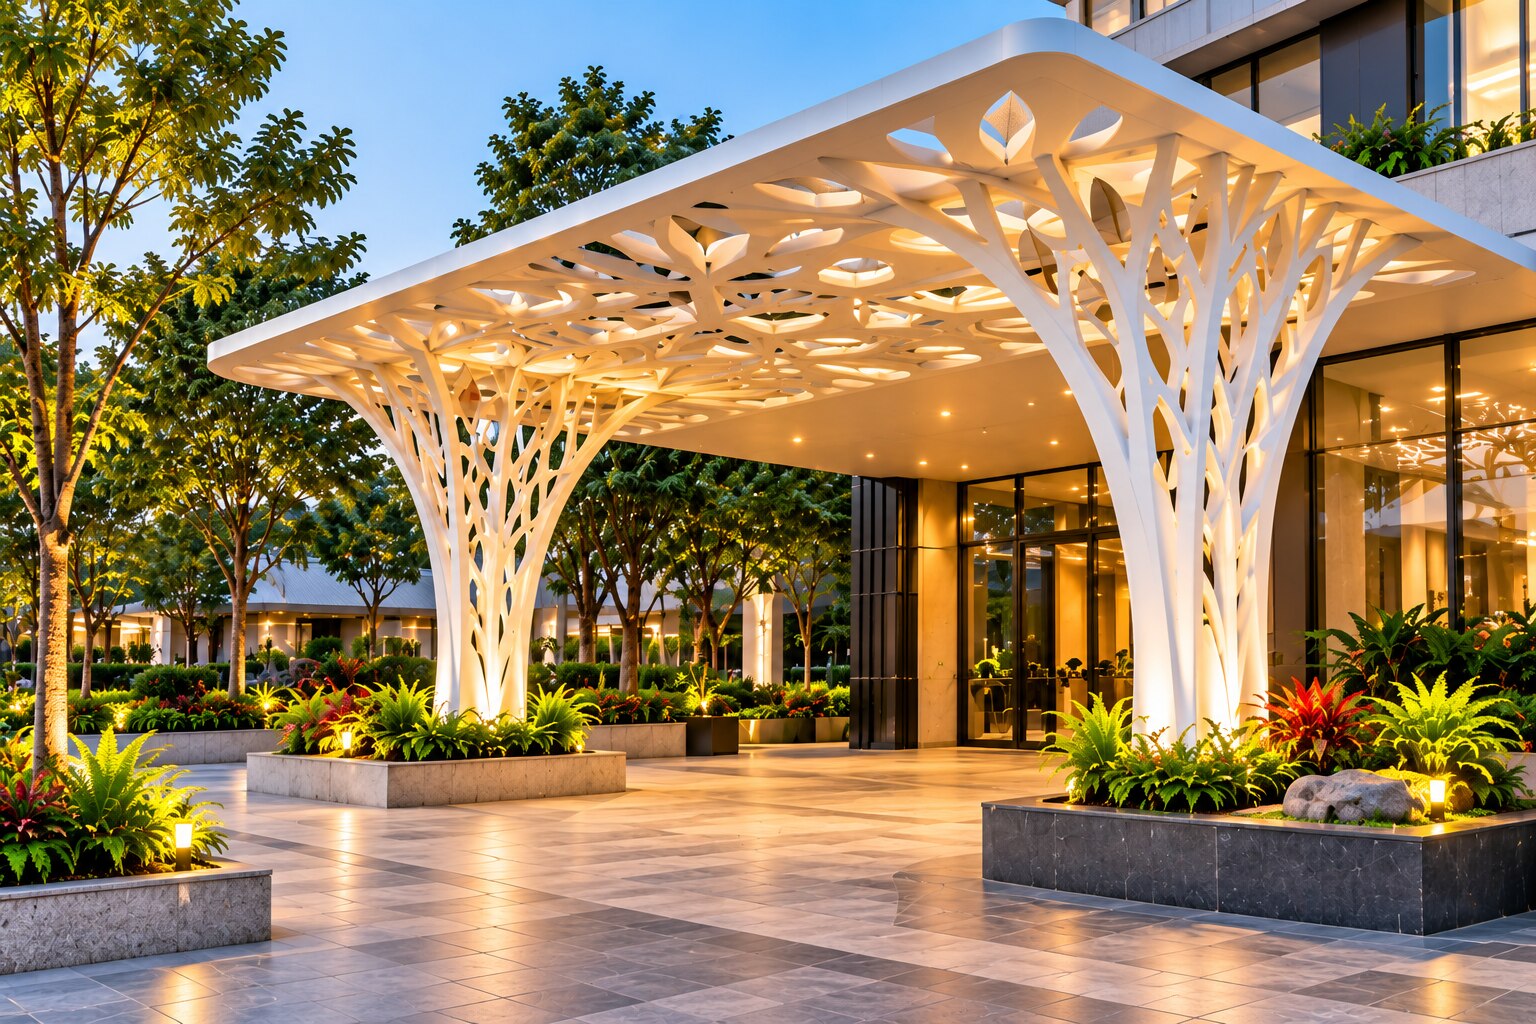
| Reception | Sculpted logo wall, textured panel, themed counter fascia, or decorative column | Gives visitors an immediate brand cue |
| Restaurant | Faux-wood panels, food-shaped props, animal figures, planters, or ceiling features | Builds a memorable dining theme |
| Retail display | Product replicas, modular plinths, display niches, or character figures | Creates depth around merchandise |
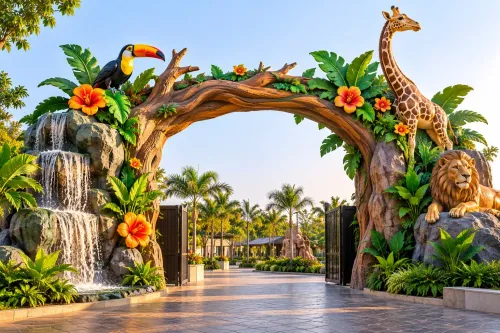
| Event entrance | Arches, portals, mascots, photo points, or detachable themed shells | Directs arrivals and encourages photographs |
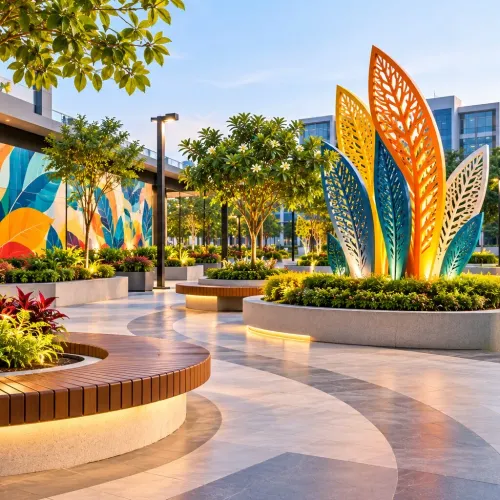
| Garden or public space | FRP animals, planters, rocks, benches, or landmark sculptures | Adds durable visual interest across open areas |
For FRP shopfront decoration, match the object’s projection and fixing method to pedestrian clearance, shutters, sign visibility, and delivery access. FRP reception design works best when the sculpture, counter face, and logo share one visual story rather than competing for attention.
FRP restaurant décor should include washable surfaces and sealed lower edges where spills and cleaning water collect.
Separate a temporary shell from its reusable base, ballast, lights, and transport hardware. Outdoor objects still need anchorage, drainage, sealed edges, and a UV-resistant finish; a lightweight FRP skin alone cannot prevent overturning.
How FRP Objects Are Built, Finished, and Checked
Consistency starts with the mould, not the paint. For repeated letters, mascots, planters, cornices, or façade motifs, use a dimensionally accurate master plug and female mould through proper FRP mould making. That process gives matching thickness, edges, and gel-coat coverage; hand-laminating every copy does not.
A one-off sculpture can be built over foam, wood, or clay, but its geometry is harder to reproduce.
Build the shell with the specified fibre-reinforced resin, controlled glass layers, and strengthened corners. Add a steel or aluminium frame where the shape spans a large area, and connect hinges, joints, lifting eyes, and fasteners to structural inserts or that frame—not just to the decorative skin. Ask for these checks before dispatch:
- Inspect the face under raking light for pinholes, dry glass, resin-rich patches, waviness, print-through, and colour variation.
- Examine edges and back faces for open laminate, sharp fibres, incomplete sealing, and drainage paths.
- Measure critical height, width, depth, hole positions, and joint alignment against the approved drawing.
- Verify every embedded fastener, insert, lifting point, and centre-of-gravity mark.
- Record nonconformities using the visual principles in ASTM D2563.
FRP surface finishing includes sanding, filling, sealing, and the final paint or FRP gel coat system. For outdoor work, specify UV resistance, edge sealing, drainage, and a recoat plan; “FRP” alone does not promise weather resistance.
Before applying vinyl or printed graphics, wash, degrease, abrade where allowed, remove dust, prime when required, and test adhesion on the cured finish.
Choosing Between Panels, Sculptures, FRP Skins, and Banners
Choose the format by the job: a flat message needs a panel, a physical attraction needs a sculpture, a temporary event piece needs a modular shell or banner, and a large outdoor installation needs a framed skin rather than an unsupported sheet.
| Option | Best choice | Main reason | Main risk |
|---|---|---|---|
| Flat visual message | Flat FRP panel | Gives a rigid, paintable sign face with more presence than print | A large unsupported panel can oil-can, drum in wind, or reveal uneven laminate |
| Three-dimensional attraction | Three-dimensional FRP sculpture | Adds depth for mascots, oversized products, photo points, and themed displays | Weight, centre of gravity, lifting points, and hidden supports need design |
| Temporary prop | Modular FRP shell on a reusable base | Separates the decorative form from ballast, lighting, transport hardware, and repairs | A shell without anchorage can overturn outdoors |
| Large outdoor installation | FRP fabricated frame with segmented skin | Transfers wind loads through steel or aluminium while keeping the visible surface light | Thermal movement between the frame and FRP can crack bolts, corners, and bonded joints |
For a durable flat visual message, choose a flat FRP panel only when the drawing shows perimeter framing, bonded ribs, edge returns, access panels, and attachment points. Do not specify overall thickness alone.
For the FRP skin versus banner decision, choose the skin for a permanent sculptural façade or branded volume; choose the banner for fast-changing artwork, low weight, and simple replacement. Specify UV-resistant resin, gelcoat or paint, drainage, edge sealing, and a maintenance plan for any outdoor FRP work.
Outdoor Durability and Indoor Safety Requirements
Outdoor FRP installation durability starts with specifying the finish, not merely “FRP.” Ask for the resin system, gelcoat or paint system, pigment, drainage design, sealed edges, and a UV-resistant FRP coating with a written inspection and recoat plan.
Standing water and open cut edges let moisture reach the laminate; unsealed joints can stain, swell, or delaminate.
Treat wind as a structural load. The drawing should show perimeter framing, bonded ribs or a sandwich core, edge returns, access panels, and the load-carrying frame for a large sign face. Require an FRP wind loading and overturning check for the site, then specify FRP anchoring and ballast separately from the decorative shell.
Specify these safety details before fabrication:
- Add impact-resistant edges where contact with people, carts, vehicles, or equipment is likely.
- Keep the centre of gravity low, widen the base, and prevent climbing.
- Bolt the base to a verified slab, or calculate ballast when drilling is prohibited.
- Name the required fire test method and obtain a report for the complete laminate, coating, core, and assembly. Fire-retardant resin does not make FRP non-combustible; burning FRP can produce smoke.
- For illuminated pieces, provide an earthed metal frame, over-current protection, strain relief, cable glands, weather-rated connections, and an accessible isolation switch.
- Design cable routes and service doors before mould-making.
Keep installations away from hot equipment and emergency routes. Inspect anchors, seals, coatings, cables, and ballast after severe weather or relocation.
The Fabrication Brief That Turns an FRP Idea Into an Installable Feature
Give the fabricator a drawing-led brief, not a reference image alone. State the finished length, width, height, total piece count, maximum vehicle size, estimated weight of every module, centre of gravity, lifting points, access route, fixing surface, electrical needs, branding areas, removal method, and intended reuse.
Use this FRP installation checklist in the purchase brief:
- Show plan, elevation, section, joint, base-plate, anchor, and drainage details.
- Mark approved lifting eyes and forklift pockets; connect them to the internal frame or structural inserts, never only to the FRP skin.
- Specify the resin, laminate thickness, core or foam, gelcoat, paint system, edge sealing, and UV-resistant finish.
- Request a metallic, gloss, or textured sample under the actual lighting; gloss surfaces reveal waviness, pinholes, fibre print-through, and joint lines.
- Name the required fire test classification and demand a report for the complete laminate, coating, and core assembly.
- For foam props, require a scrap compatibility test because polyester and vinyl-ester styrene can attack EPS.
- Attach artwork at production scale with colour references, bleed, cut lines, and approved FRP branding graphics; require an adhesion test on the cured surface before full application.
- Include an FRP maintenance plan covering washing, inspection, repainting, recoating, storage, and repair.
- Specify numbered modules, reversible fasteners, spare panels, packing protection, and a reinstallation drawing.
For FRP event fabrication, SHUBH AD'S Pvt Ltd can coordinate artwork and display elements around the feature, but your brief must assign responsibility for structural calculations, site anchoring, and final safety approval.
Frequently asked questions
What FRP feature should you choose for a commercial space?
Choose panels for walls and counters, sculptures for focal points and photo opportunities, FRP skins for branded surfaces, and banners for temporary messaging.
How are FRP objects built and finished?
Fabricators form a mould, apply fibreglass and resin, cure the piece, trim and reinforce it, then add a gelcoat, paint, graphics, or protective finish.
What makes an FRP installation suitable for outdoor use?
Specify UV-resistant resin or coatings, sealed edges, water drainage, corrosion-resistant fixings, wind-safe anchoring, and a support structure suited to the site.
What should an FRP fabrication brief include?
Include dimensions, drawings, visitor contact points, finish and colour references, weight limits, access routes, fixing details, lighting, electrical needs, and installation dates.